This homemade blackberry jam recipe is thick, sweet, and bursting with real fruit flavor. Just three ingredients, no pectin needed, and ready in under an hour. Perfect for spreading, gifting, or storing.
Every summer when blackberries are at their best, I make a big batch of this jam and it never lasts as long as I think it will.
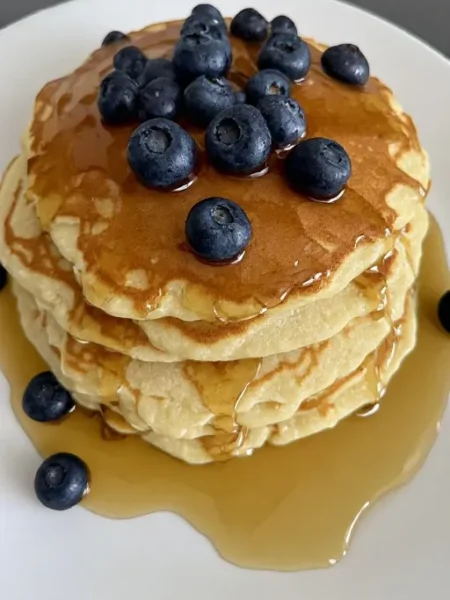
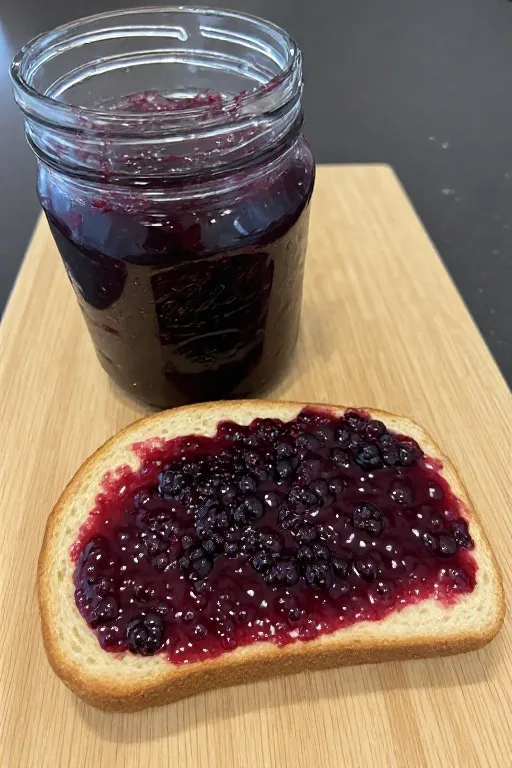
My kids eat it on toast every morning. I stir it into yogurt. I spread it on biscuits. I’ve given jars away as gifts and gotten more messages about it than almost anything else I make. There is something about homemade jam that feels special in a way that’s hard to explain, especially when the blackberries are so ripe and sweet that the jam practically makes itself.
This recipe uses no pectin. The natural pectin in blackberries, combined with the lemon juice, does all the work. You just need blackberries, sugar, and lemon juice, and a little patience while it cooks down on the stove.
If you love simple recipes that use fresh summer produce, my fresh mango salsa is another one that’s worth making while the fruit is good.
➡️ You should try this recipe next: Easy Peach Crisp Recipe with Oats Topping
Why You’ll Love This Recipe
- Only three ingredients — blackberries, sugar, and lemon juice
- No pectin needed — the natural pectin in the fruit does the work
- Small batch recipe — easy to scale up or down
- Tastes like actual blackberries, not artificial flavoring
- Keeps in the fridge for weeks or freezer for months
- Makes a beautiful homemade gift
What You Need
Fresh blackberries are ideal when they’re in season and at peak ripeness. Ripe blackberries are sweeter and have more natural pectin which helps the jam set properly. Frozen blackberries work too — thaw them completely and drain off some of the extra liquid before cooking. I’ve made this with both and honestly either works well.
Granulated sugar is what preserves the jam and helps it set. The ratio here is slightly less sugar than most traditional jam recipes which gives you a jam that tastes more like real fruit rather than just sweet. If you prefer a sweeter jam, increase the sugar by half a cup.
Fresh lemon juice does two things. The acid helps the jam set by activating the natural pectin in the blackberries, and it brightens the flavor so the jam tastes fresh rather than cooked and flat. Bottled lemon juice works in a pinch but fresh is better here.
That’s the whole ingredient list. No pectin packets, no special equipment other than a heavy-bottomed pot and some jars.
How to Make Homemade Blackberry Jam
Cook Down the Blackberries
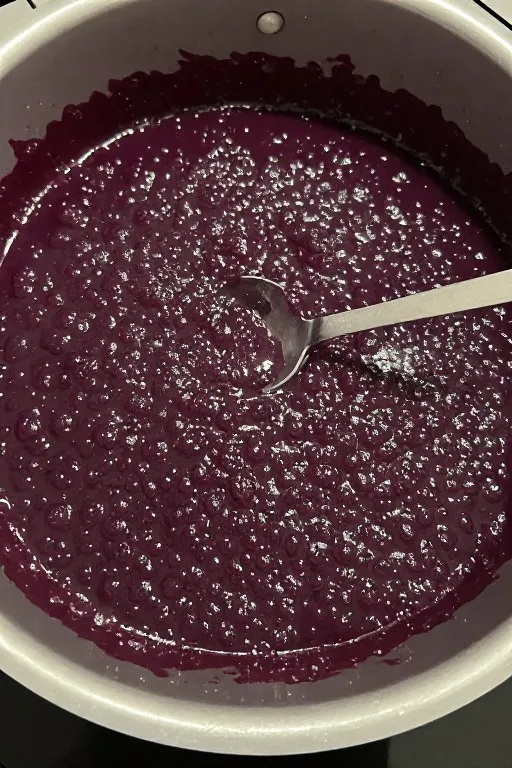
Add the blackberries to a large heavy-bottomed pot or Dutch oven over medium heat. As they heat up they’ll start releasing their juice. Use a potato masher or the back of a spoon to crush them as they cook. You can leave some whole if you like a chunkier jam or mash them completely for a smoother result.
Cook the blackberries, stirring occasionally, for about 8 to 10 minutes until they’ve broken down and are very juicy.
Add Sugar and Lemon Juice
Add the sugar and lemon juice and stir to combine. Increase the heat to medium-high and bring the mixture to a rolling boil, stirring constantly. A rolling boil means the jam is boiling vigorously enough that it can’t be stirred down.
Once it reaches a rolling boil, continue cooking for 15 to 20 minutes, stirring frequently, until the jam has thickened. It will look loose while it’s hot but thickens significantly as it cools.
Test for Set
To check if the jam is ready, place a small plate in the freezer before you start cooking. When you think the jam might be done, drop a teaspoon of it onto the cold plate and let it sit for 30 seconds. Push it with your finger — if it wrinkles and holds its shape, the jam is set. If it’s still runny, cook for another 5 minutes and test again.
The jam is also done when it coats the back of a spoon thickly and a line drawn through it holds without the jam running back together.
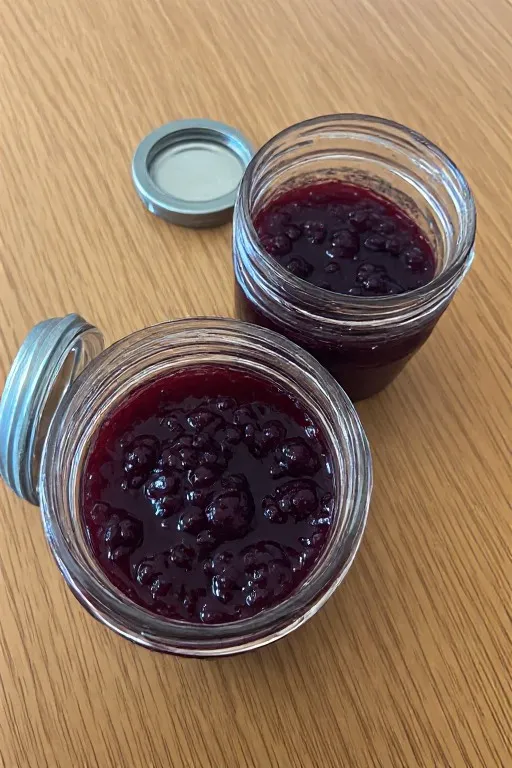
Jar the Jam
Remove from heat and skim off any foam on the surface with a spoon. Pour the hot jam into clean jars, leaving about ¼ inch of space at the top. Let it cool to room temperature before sealing and refrigerating.
💚 Upgrade your meals with high protein recipes the whole family will love — check out The High Protein Cookbook, packed with delicious protein-packed recipes to keep you full and energized!
Tips
Use a large pot. Jam bubbles up significantly when it reaches a rolling boil. A pot that’s too small will have jam bubbling over the sides. Use a pot at least twice the volume of your ingredients.
Stir frequently once you add the sugar. Sugar scorches on the bottom of the pot quickly over high heat. Keep stirring, especially in the last few minutes of cooking.
The cold plate test is the most reliable way to check for set. Don’t skip it. Jam that looks too thin in the pot will often set perfectly once cooled — and jam that looks thick in the pot can sometimes be overdone. The cold plate gives you an accurate read on what the final texture will actually be.
Skim the foam. The grey foam that forms on the surface is just air bubbles mixed with fruit solids. It won’t harm the jam but it makes the finished product look clearer and more appealing to skim it off before jarring.
If the jam doesn’t set, don’t panic. Return it to the pot, add another tablespoon of lemon juice, and cook for another 10 minutes. Test again. Undercooked jam can almost always be fixed by cooking it a little longer.
Variations
Add vanilla. Stir in half a teaspoon of vanilla extract after you take the jam off the heat. It adds a warm, slightly floral note that pairs beautifully with the tartness of the blackberries.
Make it spicy. A pinch of red pepper flakes or a small piece of dried chili cooked with the jam adds a slow heat that’s excellent spread on cheese and crackers or paired with grilled meat.
Add lemon zest. Alongside the lemon juice, add the zest of one lemon. It makes the jam taste brighter and more intensely citrusy without adding tartness.
Mix in other berries. Half blackberries and half raspberries makes a gorgeous mixed berry jam. Blackberries and blueberries together are also excellent. The cooking method and timing stay the same.
Make seedless jam. If you’d prefer a jam without the seeds, press the cooked blackberries through a fine mesh strainer before adding the sugar. You lose some of the texture but the result is a very smooth, glossy jam that spreads beautifully.
Substitutions
Fresh blackberries can be swapped for frozen. Thaw completely and drain off a cup or so of the liquid before using since frozen fruit releases more water as it cooks.
Granulated sugar can be partially replaced with honey for a slightly different flavor. Use about ¾ the amount since honey is sweeter. The jam may not set as firmly.
Fresh lemon juice can be replaced with bottled in a pinch, or with lime juice which gives a slightly different but still delicious flavor.
Storage
Refrigerator: Store in a sealed jar in the fridge for up to 3 weeks. Make sure the jar is clean and dry before filling.
Freezer: This jam freezes beautifully for up to 1 year. Leave an inch of space at the top of the jar since the jam expands as it freezes. Thaw overnight in the fridge before using.
Canning: For shelf-stable jam, process the filled jars in a boiling water bath canner for 10 minutes. Properly canned jam keeps at room temperature for up to 1 year. Make sure to follow safe canning guidelines if you go this route.
Frequently Asked Questions
Do I really not need pectin?
You really don’t. Blackberries have a relatively high natural pectin content, especially the seeds. Combined with the acid from the lemon juice, the jam sets on its own during cooking. The key is cooking it long enough for the pectin to activate and the water to evaporate. Just use the cold plate test to know when it’s ready.
My jam didn’t set. What happened?
A few possible causes. The jam may not have cooked long enough — the water needs time to evaporate and the pectin needs time to activate. It could also be that the blackberries were very ripe and low in natural pectin. The fix in both cases is the same: return the jam to the pot, add another tablespoon of lemon juice, and cook for another 10 to 15 minutes before testing again.
Can I use frozen blackberries?
Yes. Thaw them completely first and drain off some of the excess liquid — frozen blackberries release more water than fresh and this can make the jam take longer to set. Otherwise the method is identical and the result is just as good.
Can I reduce the sugar?
You can reduce it slightly but not dramatically. The sugar in jam isn’t just for sweetness — it also acts as a preservative and helps the jam set. Reducing the sugar too much will give you a softer set and a shorter shelf life. Reducing by about ¼ cup is fine.
How do I know the jam is done without a plate test?
A spoon test works too. Dip a clean metal spoon into the jam and hold it horizontally. The jam should sheet off the spoon in a sheet rather than dripping off in individual drops. If it’s still dripping, it needs more time.
Can I double the recipe?
Yes but be careful. A larger batch takes significantly longer to reach the right temperature and set, and you’ll need a very large pot. The jam is also harder to stir constantly in larger quantities. A better approach is making two separate smaller batches rather than one double batch.
You May Also Like

Homemade Blackberry Jam Recipe No Pectin Needed
Description
This homemade blackberry jam is thick, sweet, and bursting with real fruit flavor. Just three ingredients, no pectin needed, and ready in under an hour. Perfect for spreading, gifting, or storing.
Ingredients
Instructions
- Place a small plate in the freezer to use for the set test later.
- Add blackberries to a large heavy-bottomed pot over medium heat. Mash with a potato masher or the back of a spoon as they heat up. Cook 8 to 10 minutes until the berries have broken down and are very juicy.
- Add sugar and lemon juice. Stir well to combine. Increase heat to medium-high and bring to a rolling boil, stirring constantly.
- Cook at a rolling boil for 15 to 20 minutes, stirring frequently, until the jam has thickened and darkened.
- Test for set using the cold plate method — drop a teaspoon of jam on the frozen plate, let sit 30 seconds, then push with your finger. If it wrinkles, it's done. If not, cook 5 more minutes and test again.
- Remove from heat. Skim foam from the surface. Pour into clean jars leaving ¼ inch headspace.
- Cool to room temperature before sealing. Refrigerate for up to 3 weeks or freeze for up to 1 year.
Nutrition Facts
Servings 3
- Amount Per Serving
- Calories 45kcal
- % Daily Value *
- Total Carbohydrate 11g4%
- Dietary Fiber 1g4%
- Sugars 10g
* Percent Daily Values are based on a 2,000 calorie diet. Your daily value may be higher or lower depending on your calorie needs.
Note
Use a pot at least twice the volume of your ingredients — jam bubbles up a lot at a rolling boil and a small pot will overflow
❤️ Your Support Means a Lot I'm a new food blogger, and every rating and comment helps me grow and reach more readers. If you enjoyed browsing this recipe, I'd truly appreciate a quick rating below and would love to hear your thoughts in the comments. Thank you for supporting my journey and being part of Jessica Healthy Recipes! ❤️