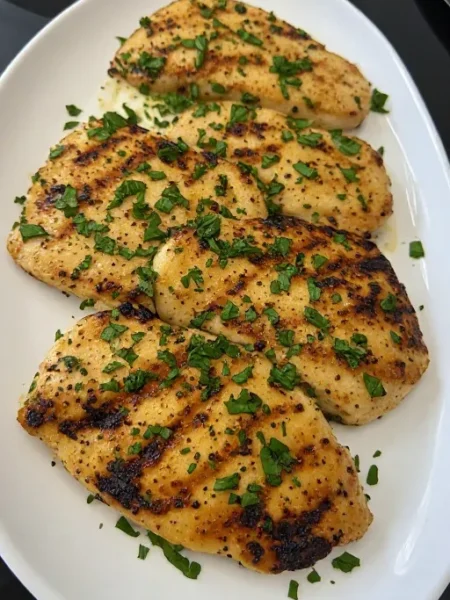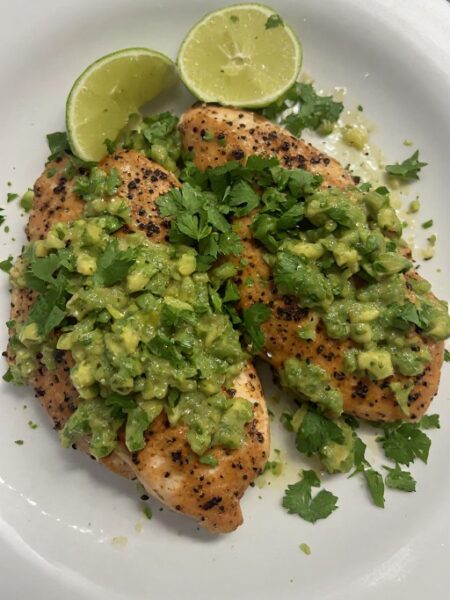

This air fryer chicken breast comes out juicy, tender, and perfectly seasoned every time, ready in under 20 minutes. No breading, no fuss, no dry chicken. A healthy dinner staple the whole family loves.
For a long time, chicken breast in my house meant one of two things: dry and sad, or a whole production involving pounding, marinating, and babysitting a skillet. Neither felt sustainable on a weeknight.
The air fryer changed that completely. A simple spice rub, a hot air fryer, and about twelve minutes gets you chicken breast that’s actually juicy, with a lightly golden, seasoned crust on the outside. No oil splatter, no flipping and checking every thirty seconds, no dry, rubbery chicken that needs to be drowned in sauce to be edible.
This is the recipe I go back to when I need protein on the table fast and don’t want to think too hard about it. It works for meal prep, it works for a quick dinner, and it works as the base for a dozen other meals throughout the week.
➡️ You should try this recipe next: Chicken Lettuce Wraps Savory Sweet and Ready in 20 Minutes
Why You’ll Love This Recipe
- Juicy, tender chicken breast without any guesswork
- Ready in under 20 minutes with minimal hands-on time
- No oil splatter and barely any cleanup
- Naturally gluten free, dairy free, and low carb
- Perfect for meal prep and reheats well
- A blank canvas for salads, wraps, rice bowls, and pasta
What You Need
Boneless, skinless chicken breasts. Look for breasts that are roughly similar in size so they cook evenly. If you have one that’s noticeably thicker than the others, pound it gently or slice it horizontally to even it out. This is the single biggest factor in getting juicy results across the board.
Olive oil. Just enough to help the seasoning stick and to promote browning. You don’t need much, which is one of the best parts of cooking chicken breast this way instead of in a skillet.
Garlic powder and onion powder. These form the savory backbone of the seasoning blend. They coat the chicken evenly in a way that fresh garlic and onion can’t in a quick dry rub, and they don’t burn the way fresh aromatics can at high air fryer temperatures.
Smoked paprika. Adds color and a subtle smoky depth that makes the chicken taste like it spent more time and effort than it actually did. Regular paprika works if that’s what you have, but smoked paprika is worth seeking out.
Salt and black pepper. Season generously. Chicken breast is mild on its own, and a light hand here is the most common reason air fryer chicken ends up tasting flat.
Italian seasoning or dried thyme. Either one rounds out the blend with a little herbal note. Use what you have on hand.
Meat thermometer. Not technically an ingredient, but essential. The difference between juicy chicken breast and dry chicken breast usually comes down to a couple of minutes and a few degrees. A thermometer takes all the guesswork out.
For serving. This works well sliced over a salad, tucked into a wrap, served alongside roasted vegetables, or diced into a grain bowl.
How to Make Air Fryer Chicken Breast
Season the Chicken
Pat the chicken breasts dry with paper towels. This matters more than it seems like it should. Dry chicken browns and crisps at the edges; wet chicken steams and stays pale.
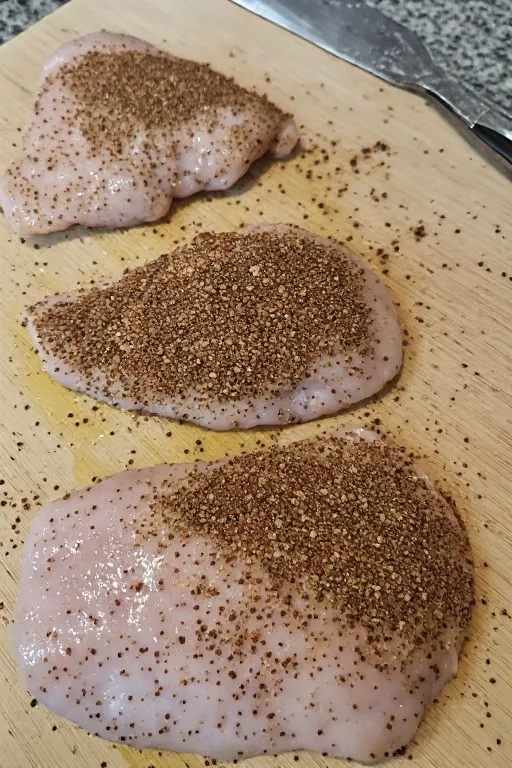
In a small bowl, mix the garlic powder, onion powder, smoked paprika, Italian seasoning, salt, and pepper. Drizzle the chicken breasts with olive oil, then rub the seasoning blend over both sides, pressing it in slightly so it adheres.
Air Fry the Chicken
Preheat the air fryer to 375°F for about 3 minutes. Place the chicken breasts in the basket in a single layer, leaving a little space between each piece so air can circulate.
Cook for 10 minutes, then flip the chicken breasts and cook for another 5 to 8 minutes, depending on the thickness of the breasts. Start checking the internal temperature around the 15-minute mark.
Chicken breast is done when it reaches 165°F at the thickest part. Pull it right at that temperature, not later, since it will continue to cook slightly as it rests.
Let the chicken rest for 5 minutes before slicing. This step matters. Cutting into it too soon lets all the juice run out onto the cutting board instead of staying in the meat.
Slice and serve.
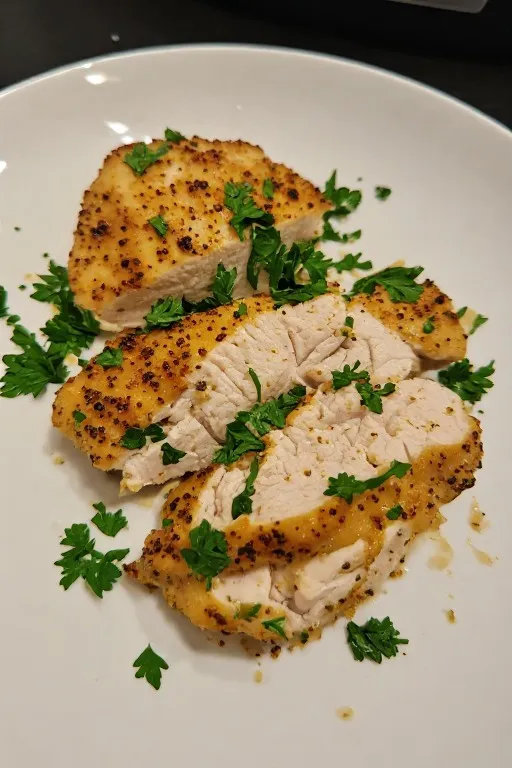
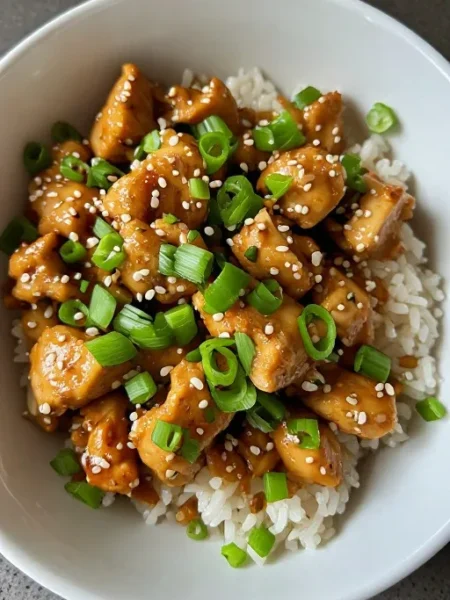
This recipe pairs really well with the chicken lettuce wraps and the dump and go crockpot teriyaki chicken if you’re looking to build out a week of chicken-based dinners that don’t feel repetitive. Cook a double batch of this on a Sunday and you’ve got the protein for several other meals already handled.
💚 Upgrade your meals with high protein recipes the whole family will love — check out The High Protein Cookbook, packed with delicious protein-packed recipes to keep you full and energized!
Tips
Don’t skip the resting step. Five minutes feels like forever when you’re hungry, but cutting into the chicken immediately lets the juices spill out instead of redistributing through the meat. This is one of the easiest ways to accidentally dry out chicken that was actually cooked correctly.
Use a meat thermometer. Guessing doneness by cook time alone is the most common way air fryer chicken ends up either dry or undercooked. Every air fryer runs slightly differently, and breast thickness varies. A thermometer removes all the guesswork. Pull the chicken at 165°F.
Even out the thickness. Chicken breasts are naturally uneven, thicker on one end than the other. Pound the thicker end down slightly or butterfly larger breasts so they cook at the same rate all the way through. This alone prevents a lot of dry, overcooked chicken.
Don’t overcrowd the basket. Air needs to circulate around each piece for even cooking and good browning. If you’re making a large batch, cook in two rounds rather than stacking or crowding the chicken.
Preheat the air fryer. Starting with a hot air fryer helps the outside set and brown properly instead of the chicken slowly coming up to temperature in a lukewarm basket.
Variations
Make it spicy. Add cayenne pepper or chili powder to the seasoning blend for a bit of heat. A pinch goes a long way.
Go Cajun. Swap the seasoning blend for a store-bought or homemade Cajun seasoning for a bolder, spicier flavor profile that works especially well over rice or in a sandwich.
Add a lemon herb finish. Squeeze fresh lemon juice over the chicken right after it comes out of the air fryer and top with chopped fresh parsley or basil for a brighter, more summery version.
Make it a marinade. If you have more time, marinate the chicken in olive oil, lemon juice, garlic, and herbs for 30 minutes to a few hours before seasoning and air frying. The results are even more flavorful.
Turn it into a sandwich or wrap. Slice the cooked chicken and tuck it into a wrap with lettuce, tomato, and a simple sauce, or use it in place of grilled chicken on a sandwich.
Substitutions
Chicken breasts can be replaced with boneless, skinless chicken thighs. Thighs are more forgiving and stay juicy even if slightly overcooked, though the cook time may need to be adjusted slightly and thighs generally need a couple of extra minutes.
Olive oil can be replaced with avocado oil or any neutral oil with a high smoke point.
Smoked paprika can be replaced with regular paprika or left out entirely if you don’t have it on hand.
Italian seasoning can be replaced with dried thyme, dried oregano, or an all-purpose seasoning blend you already have in the pantry.
Garlic powder and onion powder can be replaced with a store-bought all-purpose seasoning blend, though the flavor will vary depending on the blend used.
Storage
Cooked chicken breast keeps well in an airtight container in the fridge for up to 4 days, which makes this an excellent meal prep recipe. It stays juicy far better than most other cooking methods when reheated properly.
Reheat gently in the microwave in 30-second intervals, or in a skillet over medium-low heat with a small splash of water or broth to help keep the moisture in. Avoid reheating at high heat for too long, since that’s the fastest way to dry out already-cooked chicken.
The cooked chicken freezes well for up to 3 months. Cool completely, then slice or leave whole and store in a freezer-safe container or bag. Thaw overnight in the fridge before reheating.
Frequently Asked Questions
How do I keep air fryer chicken breast from drying out?
Use a meat thermometer and pull the chicken at exactly 165°F, then let it rest for 5 minutes before cutting. Overcooking, even by a couple of minutes, is the most common reason air fryer chicken turns out dry. Evening out the thickness of the breasts before cooking also helps a lot.
Do I need to flip the chicken halfway through?
Yes, flipping halfway through helps the chicken brown and cook evenly on both sides. Most air fryers circulate hot air from the top, so the side facing up tends to brown faster without a flip.
What temperature should I cook chicken breast at in the air fryer?
375°F works well for most air fryers and gives you a good balance of a browned exterior and a juicy interior without drying the chicken out. Cook times will vary slightly depending on the size of your air fryer and the thickness of the chicken.
Can I cook frozen chicken breast in the air fryer?
Yes, though it will need extra time, typically an additional 8 to 10 minutes, and the seasoning won’t stick as well until the chicken has thawed slightly on the outside. For the best texture and flavor, thawing the chicken first is recommended.
What should I serve with air fryer chicken breast?
It pairs well with roasted vegetables, a simple salad, rice or quinoa, or sliced into a wrap or sandwich. It’s also a great base for meal prep bowls throughout the week.
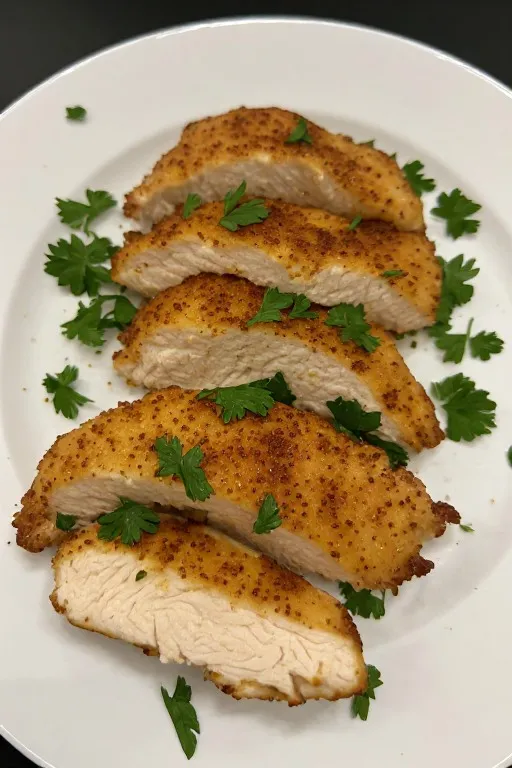

Air Fryer Chicken Breast Juicy and Easy in Under 20 Minutes
Description
This air fryer chicken breast comes out juicy, tender, and perfectly seasoned every time, ready in under 20 minutes. No breading, no fuss, no dry chicken. A healthy dinner staple the whole family loves.
Ingredients
Instructions
- Pat the chicken breasts dry with paper towels. Preheat the air fryer to 375°F for 3 minutes.
- In a small bowl, mix garlic powder, onion powder, smoked paprika, Italian seasoning, salt, and pepper.
- Drizzle the chicken breasts with olive oil, then rub the seasoning blend evenly over both sides.
- Place the chicken breasts in the air fryer basket in a single layer, leaving space between each piece.
- Cook for 10 minutes, flip, and cook for another 5 to 8 minutes, until the internal temperature reaches 165°F at the thickest part.
- Remove the chicken and let it rest for 5 minutes before slicing and serving.
Nutrition Facts
Servings 4
- Amount Per Serving
- Calories 220kcal
- % Daily Value *
- Total Fat 8g13%
- Saturated Fat 2g10%
- Cholesterol 95mg32%
- Sodium 480mg20%
- Total Carbohydrate 1g1%
- Protein 35g70%
* Percent Daily Values are based on a 2,000 calorie diet. Your daily value may be higher or lower depending on your calorie needs.
Note
Always check doneness with a meat thermometer rather than relying on time alone. Pull the chicken at 165°F.
Let the chicken rest for 5 minutes before cutting into it. This keeps the juices in the meat instead of on the cutting board.
Even out the thickness of the breasts before cooking for the most consistent results.